Learning Center
Utilize photo files in your literacy classroom
november 15, 2011

Many mini-lesson ideas and literacy strategies we share at Smekens Education workshops include a concrete object, toy, or prop. That little bit of visual reinforcement can engage more students and make your instruction more effective. And one of the simplest visual tools to ramp up the power of your lessons is the photograph.
Incorporate photos into your content literacy instruction
Depending on the concepts you’re teaching, consider the best mode of displaying the photograph(s) to help students comprehend the information. Here are a few options:
- Embed photos within a PowerPoint presentation.
- Tack photos on a bulletin board.
- Display photos via a Smart Board, document camera, or overhead.
- Enlarge photos as posters.
- Reveal a freeze-frame image of a video/movie.
- Associate photo(s) with a content area experiment/problem.
Utilize photos for literacy-skill practice
Collect magazine, newspaper, and other photos. If possible, laminate them. (The same images can be used for a variety of activities. These photos will be touched by lots of hands. Protect them to ensure their longevity.)
Here are 15 ways for students to use a photo as a means of honing a reading or writing skill.
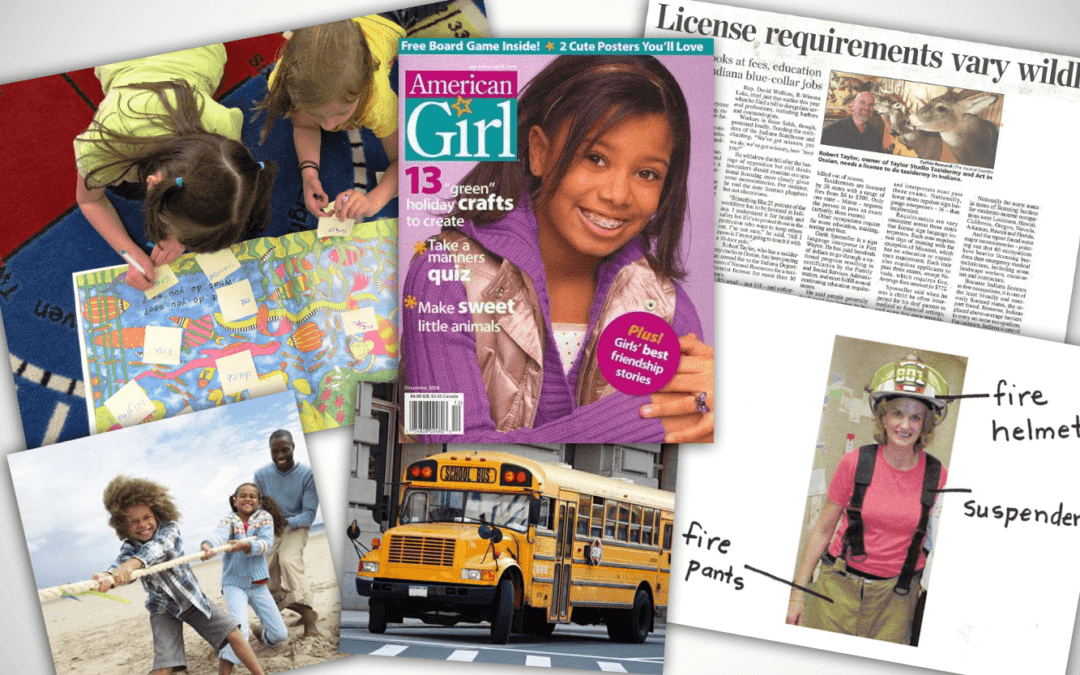
Label photographs & images
- Using sticky notes, ask primary/special needs students to identify the specific nouns pictured. This is a great way for them to practice their sound-spelling/phonics without having to draw a picture first.
- Have students write adjective/noun labels on sticky notes for items in a photograph.
- Students could also write both common nouns and specific nouns/proper nouns on sticky-notes to label for items in a photograph. For example, dog and German shepherd or tool and hammer.
- Students working on phonics can label items in a photo that start with the same sounds. (They can write their words or just the beginning letter(s) they hear on sticky notes.)
- Fine-tune the difference between a title and label by having students write both for a photograph. (A label is usually 1-2 words that just announces the subject/topic. But a title gives more detail about the focus, purpose, or main idea of an image.)
Make lists based on pictures
- Start a research project by studying photographs on the topic. Make a list of observable facts and follow-up questions generated simply by “reading” photos.
- Using a busy photograph (e.g., a page from an I Spy book), have students list 10 prepositional phrases they observe by pointing out what is above what, and below what, and near what, etc.
- Using a photo with a lot of action and activity, have students list different action verbs to describe the people/subjects in the photo.
- Using the previous idea, add adverbs to each verb in the list.
- List as many words/details observable in one photo but sorted into parts of speech (e.g., words/details in picture that are nouns, verbs, adjectives, etc.).
- Create a T-chart comparing/contrasting items within two different photographs.
Write sentences for pictures
- Write 3 different sentences for the same photo (e.g., declarative, interrogative, explanatory OR simple, compound, complex, etc.).
- Write 4 sentences about a photograph. Each sentence should that depict a type of figurative language—2 similes and 2 metaphors.
- Determine the main idea of a picture and express it in a single sentence. (Students could also identify what background knowledge was necessary to draw that conclusion.)
- Reveal 3-4 pictures and ask students to determine a common theme among the photographs (e.g., great journey, loss of innocence, noble sacrifice, great battle, etc.). They should express their themes in complete sentences.
Look for ways to tie your instruction and follow-up activities to something visual. This improves understanding and retention.


[reading]
Expect students to build their own background knowledge

[reading]
Vary text types

[reading]